Quick Answer: How Do You Set Up IPTV on Fire Stick?
Connect your Fire Stick to an HDMI port and wall power, complete the Amazon Wi-Fi setup, install a compatible player from the Amazon Appstore where it is available, and then enter the login or playlist details supplied by your authorised IPTV provider. Test both live and on-demand playback before changing advanced settings.
If you are searching for how to set up IPTV on Fire Stick, the hardware connection is only the first step. A reliable result also depends on the right player, accurate provider details, a stable home network, updated software and responsible access to content you are authorised to view. This 2026 guide explains the process in a clear order for viewers in the UK, Canada and other supported locations.
Amazon’s official Fire TV instructions cover the basic device setup: an available HDMI port, the supplied power adapter, an Amazon account and an internet connection. Once Fire TV is online, you can search for apps from the Find menu and select Get when the app is available in your region. The IPTV part then depends on the player and the authorised provider account you choose.
1. What You Need Before Setting Up IPTV on Fire Stick
Prepare the basics before opening any player. This avoids the most common setup problem: trying to troubleshoot an app when the Fire Stick itself is not receiving stable power or Wi-Fi.
Use IPTV Responsibly
IPTV is a delivery method, not a licence to watch every channel or event. Only access content you are authorised to view, follow the laws where you live, and respect the terms of your device, app and provider. Do not use random playlists, stolen credentials, unknown APKs or tools designed to bypass copyright or geo-restrictions.
2. Connect and Prepare Your Fire Stick
The most reliable setup starts with the physical connection. Amazon recommends using the supplied power adapter rather than depending on the television’s USB port, because under-powered devices can restart, run slowly or behave unpredictably.
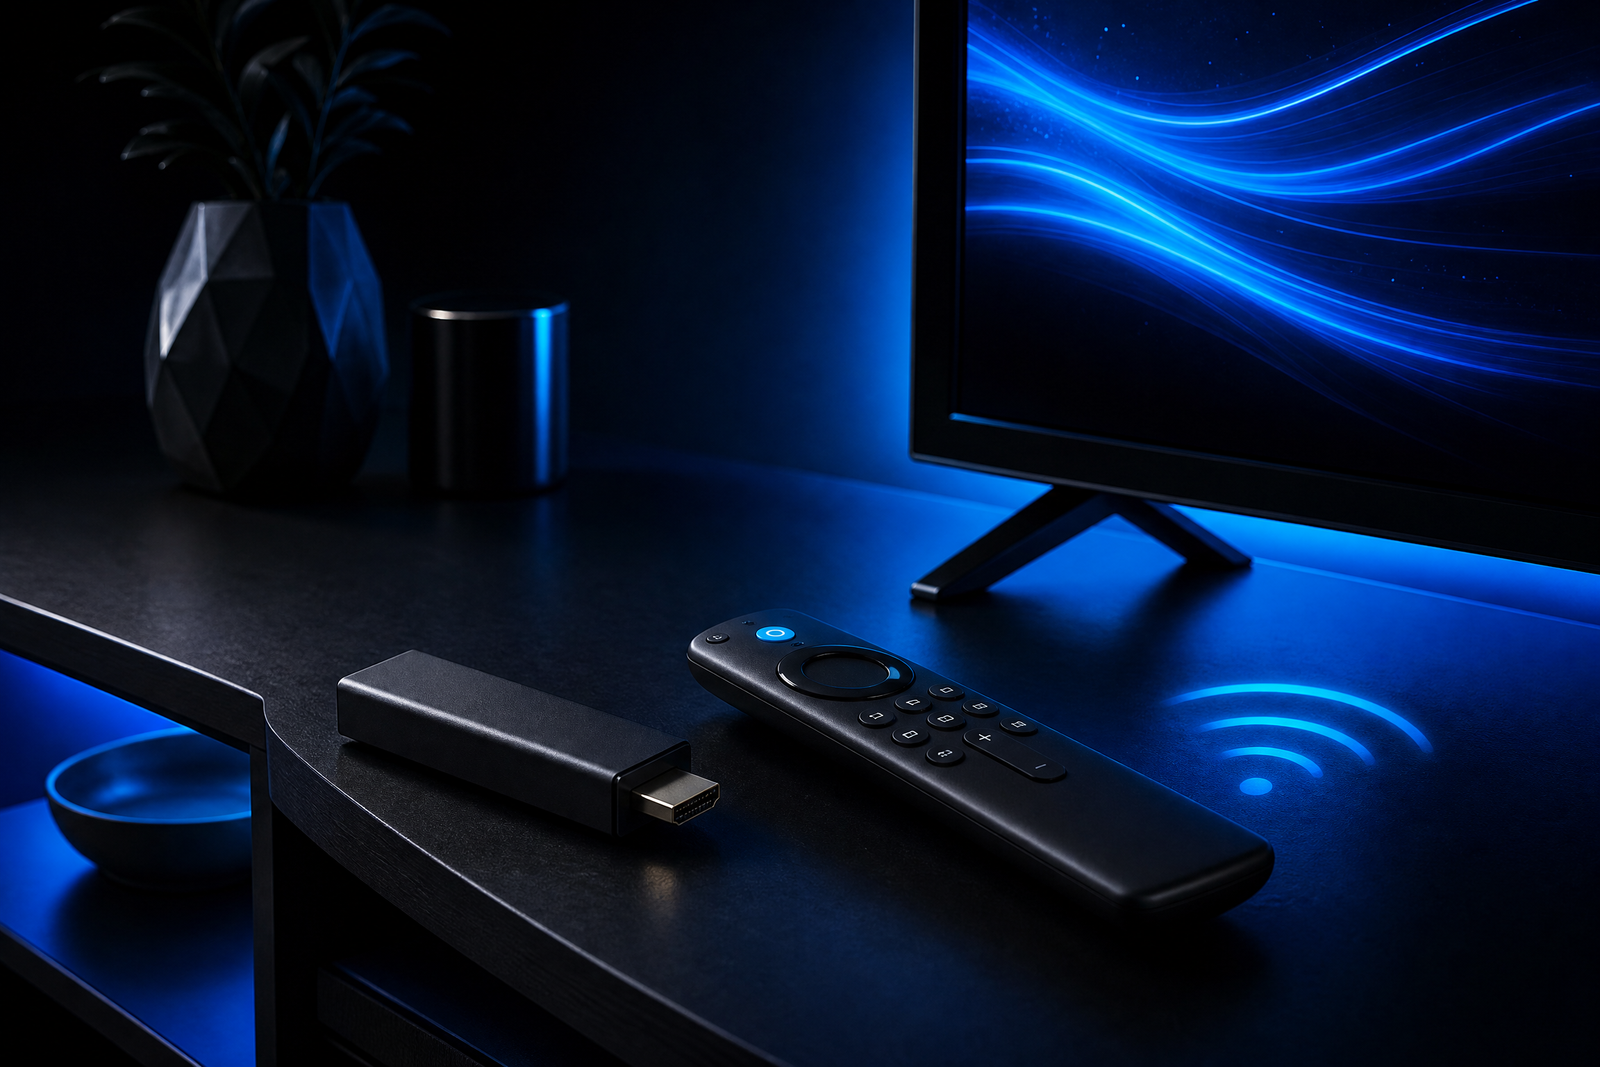
Plug the Fire Stick into HDMI
Insert the stick into an available HDMI port. Use the supplied HDMI extender if the television’s port is crowded or the stick would be pressed against the wall.
Use wall power
Connect the USB cable to the power adapter and plug the adapter into a wall outlet. This is usually more dependable than drawing power from the TV itself.
Select the correct HDMI input
Turn on the television and select the HDMI input where the Fire Stick is connected. If the screen is blank, confirm the input before changing any app setting.
Pair the remote and connect Wi-Fi
Insert the remote batteries, follow the on-screen pairing prompts, choose your Wi-Fi network and enter the password carefully.
Finish Fire TV setup
Sign in with your Amazon account, allow the device to install available updates, and confirm that the home screen loads normally before installing a player.
Official reference: If you are stuck at the hardware stage, follow Amazon’s step-by-step Fire TV Stick setup guide before troubleshooting IPTV software.
3. Install a Compatible IPTV Player
An IPTV provider and an IPTV player are not always the same thing. The provider supplies the account or authorised playlist; the player is the application that displays the content. Check which player and login method your provider currently supports before installing anything.
Option A: Install from the Amazon Appstore
When a compatible player is available in your region, use the official Fire TV app flow. From the home screen, open Find, search for the app, select it, and choose Get. For a public overview of Fire TV setup and navigation, see Tom’s Guide’s Fire TV setup and navigation guide.
Option B: Use the Provider’s Official Setup Instructions
Some providers support a dedicated application, while others support a player that accepts a username and password, an M3U playlist or an EPG address. These terms can change, so use the exact information from your provider’s welcome message or support team. Never copy credentials from a public forum, and never publish a private playlist URL on social media.
💡 Fastest path: install the player your provider officially supports, then ask support which login method is correct for your Fire Stick model. Using the wrong portal or playlist format often looks like an IPTV outage when it is really a configuration mismatch.
4. Add Your IPTV Subscription Details Safely
After the player is installed, open its account or playlist screen and enter the details provided to you. The wording varies by application, but the sequence is generally the same:
Open the player
Launch the app and choose the provider’s recommended login or playlist option. Avoid guessing between multiple formats.
Enter details exactly
Type the username, password, server address, playlist URL or EPG address exactly as supplied. Watch for spaces, capital letters and similar-looking characters.
Allow the library to load
Large channel or on-demand libraries may take a little time to refresh. Do not repeatedly submit the same credentials while the player is loading.
Test more than one type of content
Try one live stream, one on-demand item and the electronic programme guide if your plan includes it. This helps separate a player issue from a single-source issue.
If the login fails, first verify that the subscription is active and that you are using the current details. For SMART4K customers, the safest next step is to use the contact and support page rather than changing server values at random.
5. Fire Stick Compatibility and Picture Quality
Most setup problems are not caused by a single “best” device. They usually come from the combination of Fire TV hardware, television resolution, player support, network quality and the stream itself. Before choosing 4K output, confirm that all parts of the chain support it.
| Component | What to check | Why it matters |
|---|---|---|
| Fire TV Stick | Model, storage and current software | Older or full devices can load apps slowly. |
| Television | HDMI input and supported resolution | The TV must accept the output you select. |
| Player app | Current Fire TV support and provider method | An unsupported player can reject valid account details. |
| Network | Stable Wi-Fi, low congestion or wired option | Live streaming is sensitive to interruptions. |
| Content source | Authorised and currently available | A single unavailable stream cannot be fixed by changing TV settings. |
Use Auto resolution first. Move to a fixed 4K setting only when your television, player, network and the content itself support it.
6. How to Fix IPTV Buffering on Fire Stick
Buffering is a symptom, not a diagnosis. The cause may be your Wi-Fi, the Fire Stick, the player, one stream source or the provider’s capacity. Work from the simplest test to the most specific one rather than changing every setting at once.
📶 Step 1: Check whether the problem is local
- Open another legitimate streaming app on the same Fire Stick.
- Test the same player on a different network if that is safe and practical.
- Check whether every channel buffers or only one stream does.
- Restart the router and Fire Stick, then test again after the network is stable.
🔌 Step 2: Improve the network path
- Move the Fire Stick away from enclosed cabinets, thick walls and sources of interference.
- Use the Wi-Fi band recommended by your router and device, or use a supported Ethernet adapter where practical.
- Pause large downloads, cloud backups and other high-bandwidth activity while testing live playback.
- Keep the router firmware and Fire TV software current.
📦 Step 3: Check the device and player
- Close unused apps and remove applications you no longer need.
- Confirm that the player is updated and that your subscription details are current.
- Use the player’s Auto or balanced buffer setting before trying aggressive values.
- Do not increase video quality beyond what the TV and connection can sustain.
🔄 Step 4: Clear the app cache
- Open Settings on Fire TV.
- Select Applications, then Manage Installed Applications.
- Choose the affected player and select Clear Cache.
- Use Clear Data only when necessary because it may remove the app’s saved login.
Public Fire TV performance reference: Settings → Applications → Manage Installed Applications. Tom’s Guide covers restarting, clearing cache and other practical performance checks for sluggish Fire TV devices.
How to identify the likely cause
| What you see | Likely area to check | First action |
|---|---|---|
| Every app buffers | Wi-Fi, router or ISP | Restart network, improve signal and test another device. |
| Only one player buffers | App cache, app version or player setting | Update the app, clear cache and sign in again if needed. |
| Only one channel buffers | Specific stream source | Test another channel and ask the provider to check the source. |
| Playback stops after a few minutes | Power, heat, storage or network drop | Use wall power, improve ventilation and check storage/network stability. |
7. Privacy, Legal and Account-Safety Checklist
A good IPTV setup is not only about picture quality. It should also protect your account, your home network and your legal rights. Treat every playlist URL and login as private account information.
- Use only content and services you are authorised to access in your country.
- Prefer the official Amazon Appstore or a provider’s documented, trusted installation method.
- Do not install cracked players, modified APKs or files advertised as “unlimited premium access”.
- Never share your subscription credentials, playlist URL or EPG link publicly.
- Review app permissions and remove players you no longer use.
- Keep Fire OS, the player and your home router updated.
- Use a strong, unique password for your provider account and email.
- Do not assume a VPN makes unlicensed streams lawful or guarantees no buffering.
8. Setting Up SMART4K on Fire Stick
If you are using SMART4K, first confirm the current player, login method, supported Fire TV models and service availability with the team. Service apps, plan features and setup instructions can change, so the most accurate instructions are the ones in your welcome email or on the current SMART4K contact page.
✅ Recommended SMART4K workflow: confirm your active plan, install the currently supported player, enter only the credentials supplied to you, test a few categories, and contact support if the account or playlist does not load. Do not use random server URLs from search results.
9. Five-Minute Fire Stick IPTV Optimisation Checklist
These checks are more useful than blindly changing buffer values or forcing a higher resolution. Make one change at a time, then retest the same stream so you know what actually improved the result.
10. Frequently Asked Questions
You need a compatible Fire TV Stick and TV with an available HDMI port, the supplied power adapter, a working internet connection, an Amazon account for device setup, and login or playlist details from an IPTV provider whose content you are authorised to access.
If the player is available in your region, search for it from Find on the Fire TV home screen and select Get. Availability changes by country and app publisher. Use the Amazon Appstore or the provider’s official installation instructions whenever possible, and avoid random APK downloads.
Open the compatible player, select the login or playlist method specified by your provider, and enter the supplied credentials exactly as provided. Do not share your username, password, playlist URL, or EPG link publicly. If you do not know which method to use, contact the provider’s support team.
Buffering can come from Wi-Fi interference, a busy network, device storage, an outdated app, a congested stream source, or provider-side capacity. Test another app, restart the router and Fire Stick, move the device closer to the router, and clear the affected app’s cache before changing advanced settings.
Amazon’s current path is Settings, Applications, Manage Installed Applications, then select the app and choose Clear Cache. Amazon also provides an option to clear all application caches. Clearing data may sign you out, so keep your login details available.
A VPN is not automatically required for streaming. Use one only for a lawful privacy or network-management reason and follow local law, the provider’s terms, and the VPN provider’s rules. A VPN cannot make unauthorised content legal or guarantee that buffering will disappear.
Compatibility depends on the current SMART4K service, the app or player it supports, your Fire TV model, and your location. Confirm the current supported app and setup method with SMART4K support before subscribing or changing your device configuration.
Start with automatic display resolution, a stable Wi-Fi connection, updated Fire OS and player software, and a clear line of sight or strong network path to the router. If your TV, stream and network support 4K, select a matching resolution; otherwise Auto is the safer starting point.
FINAL TAKEAWAY
The best way to set up IPTV on Fire Stick in 2026 is to keep the process simple: stable wall power, correct HDMI input, working Wi-Fi, a compatible player from a trusted source, and the exact authorised details supplied by your provider.
If buffering appears, diagnose it systematically. Test another app, improve the network path, clear the affected app cache and ask the provider about a single failing stream. If you are considering SMART4K, confirm the current plan, supported app and legal availability before getting started.
View Plans & Pricing → Ask Support